Today I tried to get a custom Sharepoint web part to work. It was no fun because I had a pretty simple (once you figured it out) and tedious error.
 I added my custom web part on a standard SharePoint web part page and tried to edit the web part properties. I tried to just click on OK, Apply or Cancel I always got the following annoying message:
http://williamvanstrien.blogspot.com/2010/01/alluserswebpart-and-spwebapplicationapp.html
William pointed out that it is a really bad thing to set the ID of a webpart control:
Hence I removed the ID property of my web part and everything was good!
Removing the ID was the very simple trick to this issue.
Thank you Microsoft for providing us developers/users so meaningful error messages.
 I added my custom web part on a standard SharePoint web part page and tried to edit the web part properties. I tried to just click on OK, Apply or Cancel I always got the following annoying message:
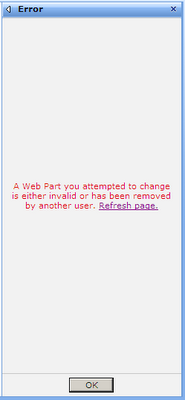
A Web Part you attempted to change is either invalid or has been removed by another user.
After spending a couple of hours, even with an experienced collegue, I finally found an interesting article:http://williamvanstrien.blogspot.com/2010/01/alluserswebpart-and-spwebapplicationapp.html
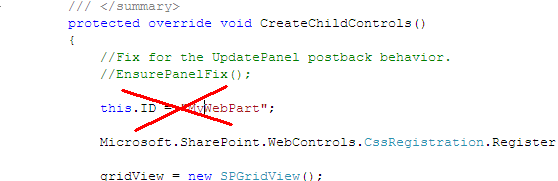
William pointed out that it is a really bad thing to set the ID of a webpart control:
"...When you add a control within an .aspx file, Visual Studio automatically add a default 'ID' property to the control. For the default WebPart however this is not needed, the property is actually set when creating a publishing page off this PageLayout. But the mere presence of it in the default part results in SharePoint detecting a concurrent update..."
Hence I removed the ID property of my web part and everything was good!

Removing the ID was the very simple trick to this issue.
Thank you Microsoft for providing us developers/users so meaningful error messages.

In my case, we were out of disk space in SQL.
ReplyDeletehttp://www.sharepointindepth.com/a-web-part-you-attempted-to-change-is-either-invalid-or-has-been-removed-by-another-user/
In my case, we were out of disk space in SQL.
ReplyDeletehttp://www.sharepointindepth.com/a-web-part-you-attempted-to-change-is-either-invalid-or-has-been-removed-by-another-user/